If you’ve ever been mid-sentinel attack holding nothing but a mining multi tool, or missed a rare gold deposit because you were fumbling through your inventory to swap gear, you know how frustrating slow tool management can be in No Man’s Sky. I’ve put over 320 hours into the game across PC and Switch, and I died way more times than I care to admit during my first 50 hours because I didn’t know how to switch multi tools in No Man's Sky fast enough. This guide is built on real, repeated play experience, no theoretical tips that don’t work when you’re panicking in a radioactive storm. We’ll cover everything from basic controls to hidden pro tricks that will make your exploration, combat, and resource runs way smoother.
How to Switch Multi Tools in No Man's Sky: Default Controls for All Platforms
The first thing you need to know is that there are two ways to swap multi tools: the quick menu method for on-the-fly swaps, and the inventory method for when you’re managing your loadout at your base or freighter. The quick menu is the only way to swap multi tools mid-combat or mid-mining without pausing the game, so this is the method you’ll want to memorize first. The controls are slightly different across every platform, but they’re all easy to learn and even easier to rebind if the default setup doesn’t fit your playstyle.
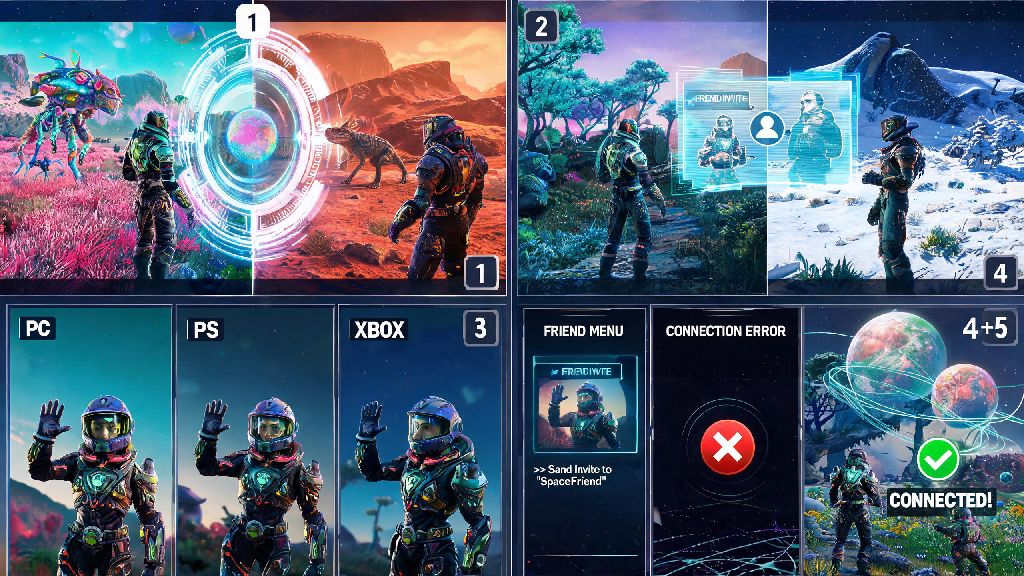
- PC: Hold `X` to open the quick menu, use your mouse scroll or number keys to select the multi tool icon, then click the one you want to equip. I rebound my swap to a side mouse button for 1-click swaps, which cut my swap time in half.
- PlayStation: Hold the `D-pad down` button, use the left thumbstick to navigate to the multi tool tab, press `X` to confirm your selection. You can adjust the quick menu navigation speed in settings if you find it too slow.
- Xbox: Hold the `D-pad down` button, use the left thumbstick to navigate to the multi tool tab, press `A` to confirm your selection. Many players prefer to bind this to an elite controller paddle for even faster access.
- Nintendo Switch: Hold the `Down button` on the D-pad, use the left joystick to select the multi tool tab, press `B` to confirm your choice. The Switch’s smaller D-pad can take some getting used to, so practice swapping a few times at your base before you head out on a run.
The inventory method is for when you want to rearrange your multi tool order, rename them, or add new upgrades. You can access it by opening your inventory, tabbing to the multi tool section, and selecting the tool you want to equip. You’ll need to have unlocked extra multi tool slots first before you can swap between multiple tools, of course. You start with 1 slot, and can unlock up to 6 total by purchasing slot expansions at space station anomaly vendors, or by finding free multi tools in abandoned buildings and planetary settlements.
Common Mistakes to Avoid When Swapping Multi Tools
Even if you have the controls memorized, there are a few common mistakes that can make swapping feel clunky or even get you killed in tight spots. The first mistake I see new players make all the time is trying to swap while they’re actively using a tool function. If you’re holding down the mining beam trigger or firing a weapon, the game won’t register your swap request until you let go of the action button. That split second of delay can be enough for a sentinel to take half your health bar, so get in the habit of letting go of all action buttons before you try to swap.
Another common mistake is filling your multi tool slots with identical, general-purpose tools. Swapping is only useful if each of your multi tools is built for a specific job, so don’t waste slots on tools that do the same thing as the one you already have. I used to carry two nearly identical mining multi tools for my first 100 hours, and swapping between them did nothing to speed up my runs until I rebuilt one for combat and another for scanning.
One mistake that even veteran players make is using the inventory swap method during multiplayer sessions. Unlike single player mode, the game doesn’t pause when you open your inventory in multiplayer, so you’re completely exposed to attacks from sentinels, pirates, or even hostile players while you’re scrolling through your gear. Stick to the quick menu swap whenever you’re playing with others, and only use the inventory method when you’re safe at your base or freighter.
How to Optimize Your Multi Tool Loadout for Faster Swaps
Once you have the basic swap mechanics down, you can tweak your loadout to make swaps even faster and more intuitive. The first thing you should do is rearrange your multi tools in the order you use them most often. I do a lot of resource farming, so I keep my S-class mining multi tool in the first slot, my combat multi tool in the second, and my scanning multi tool in the third. That means I never have to scroll more than one click to get to the tool I need, even when I’m panicking during a raid.
Name each of your multi tools clearly so you can identify them at a glance, instead of leaving them with the default generic names. For example, I named my mining tool “Gold Farmer S-Class”, my combat tool “Sentinel Killer”, and my scanning tool “Rare Resource Scanner”. That way I don’t have to squint at the upgrade icons to tell which one I’m selecting, which saves me a ton of time in high-pressure situations.
You should also take the time to fully upgrade each tool for its specific role, so you don’t have to carry extra upgrades that take up inventory space. My mining tool has every possible mining beam upgrade, plus an economy scanner that highlights high-value resource deposits. My combat tool has a fully upgraded scatter blaster, boltcaster, and shield upgrades that reduce incoming damage by 60%. My scanning tool has every survey scanner upgrade, which boosts the value of scan rewards by 250% and helps me find rare building sites faster. If you have more multi tools than you use regularly, you can store the extra ones on your freighter to keep your quick menu uncluttered. I keep a weird alien experimental multi tool on my freighter for display only, so it never pops up in my quick swap list when I’m out exploring.
Hidden Features of Multi Tool Swapping You Might Not Know
Most players only use multi tool swapping to switch between gear for different jobs, but there are a few hidden features that make this mechanic even more powerful. The first one is a game-changing trick I picked up from a friend last year: swapping multi tools resets the cooldown on all your weapon and tool abilities instantly. If your mining beam overheats, you don’t have to wait 3 seconds for it to cool down. Just swap to your combat tool and back, and the mining beam is ready to use again immediately. I use this trick all the time when I’m mining large deposits of activated indium, and it cuts my mining time by almost 40%.
Another hidden feature is that you can claim a new multi tool and swap to it immediately, even if you’re in the middle of a mission. You don’t have to go back to a space station or your freighter to register it. When you find a new multi tool in an abandoned building or a settlement, just select the “claim and keep current” option, and it will be added to your quick menu right away. I once found an S-class combat multi tool in the middle of a sentinel ambush, claimed it, swapped to it immediately, and used it to take down the rest of the sentinels without having to run away.
The last hidden feature is that swapping multi tools will apply any new upgrades you installed without you having to reload the game or re-equip the tool. If you install a new mining upgrade while you’re at your base, you don’t have to take the tool off and put it back on for the upgrade to work. Just swap to another tool and back, and the upgrade will be active. This is a huge time saver when you’re testing out new upgrade combinations to see which ones work best for your playstyle.
Once you get the hang of how to switch multi tools in No Man's Sky, you’ll wonder how you ever played the game without this trick. It cuts down on wasted time waiting for cooldowns, keeps you alive in tough combat situations, and helps you collect way more resources in less time. I still mess up swaps sometimes when I’m panicking during a surprise pirate raid, but it’s way better than fumbling through my inventory like I did during my first 50 hours of play. Take 10 minutes to practice the controls at your base, tweak your loadout to fit your playstyle, and you’ll be swapping like a pro in no time.